
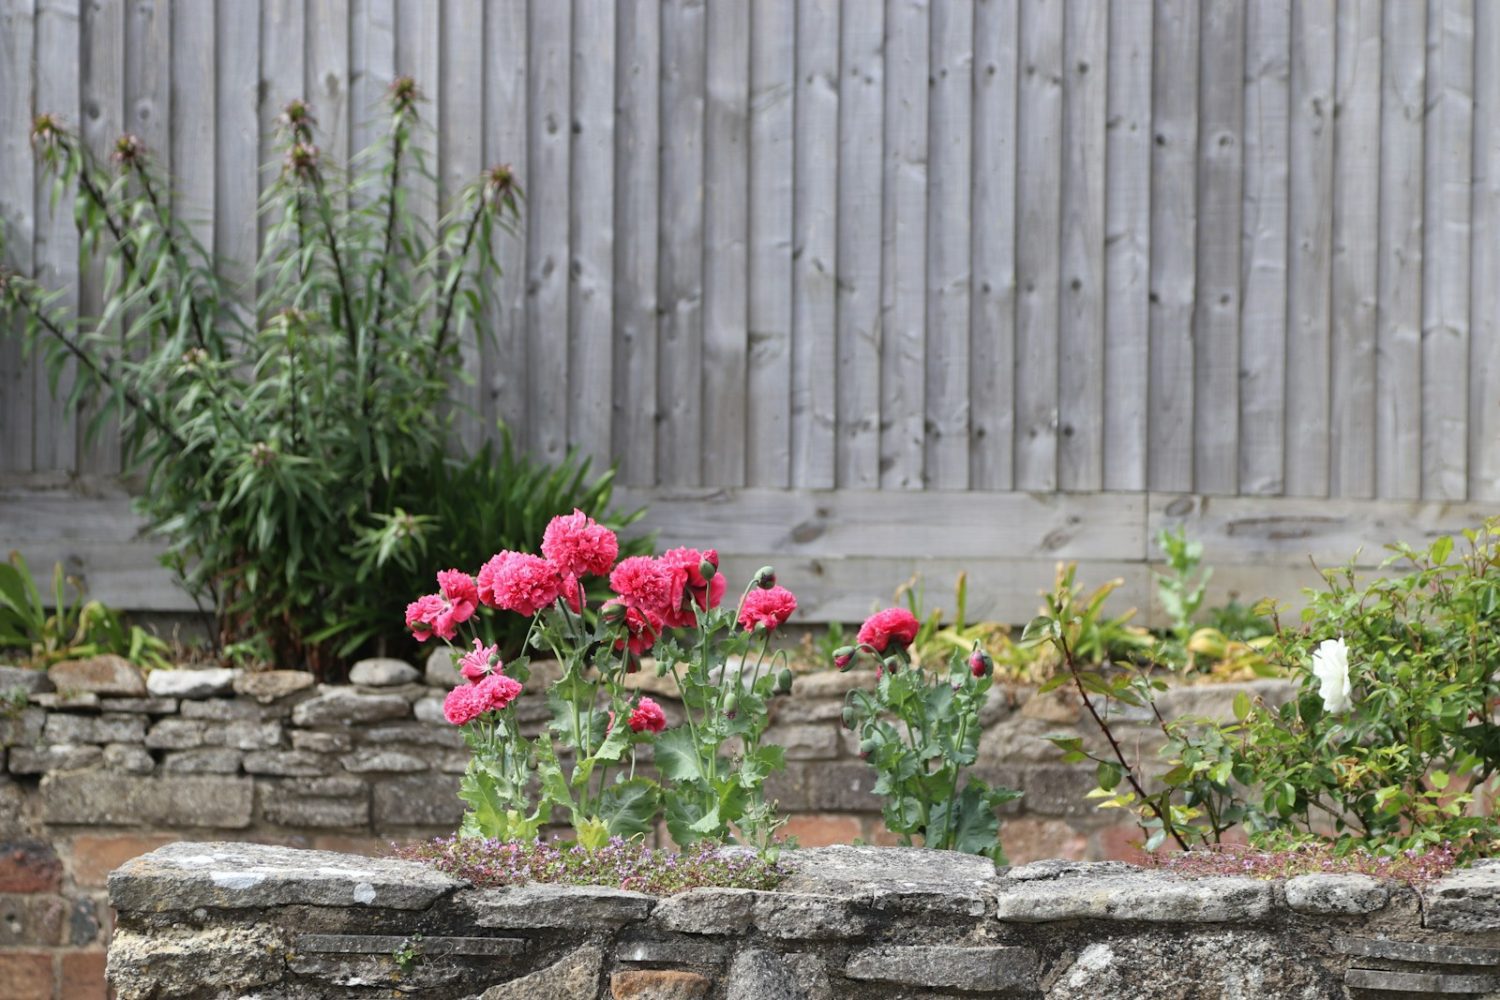
Raised garden beds are an excellent way to grow plants with good drainage, easy access, and improved soil conditions. However, the key to a successful raised bed lies in how you fill it. Proper filling ensures that your plants thrive and have the nutrients they need for healthy growth. Whether you’re starting a vegetable garden or planting flowers, the right technique can make a big difference. In this guide, we’ll walk you through the best methods to fill a raised garden bed for optimal results.
1. Start with the Right Materials: Layering for Healthy Soil
Filling a raised garden bed isn’t just about adding soil. It’s about layering different materials to create a nutrient-rich environment that promotes root growth, drainage, and air circulation. By layering materials properly, you can improve the soil structure and reduce the need for constant fertilizing.
First Layer: Rocks or Gravel (Optional)
Begin by placing a layer of rocks or gravel at the bottom of your raised garden bed. This layer helps with drainage and ensures that water doesn’t get trapped at the base of the bed. It’s especially useful if you’re filling a very deep raised bed. If your bed isn’t too deep, this step may be optional, as the soil can drain properly without it. If you’re concerned about weeds or pests, you can also lay down landscaping fabric on top of the rocks to prevent unwanted growth.
Second Layer: Branches, Twigs, or Shredded Leaves
Next, add a layer of organic material like branches, twigs, or shredded leaves. This layer helps create air pockets that allow water to drain and roots to grow deeper. The organic matter also starts breaking down over time, adding valuable nutrients to your soil. This process, known as “lasagna gardening,” provides a great foundation for healthy soil while keeping the cost of filling your bed lower. You can also use other organic materials like grass clippings or straw.
Third Layer: Compost or Well-Rotted Manure
The next layer should consist of compost or well-rotted manure. This is the nutrient-dense layer that will provide the foundation for your plants. Compost adds rich organic matter and beneficial microbes that improve soil structure, fertility, and water retention. Manure, on the other hand, is packed with essential nutrients like nitrogen, phosphorus, and potassium. If you’re using manure, make sure it’s well-rotted to avoid burning your plants with too much nitrogen. If you don’t have access to compost or manure, you can also use bagged garden soil designed for raised beds.
Fourth Layer: Garden Soil
After adding compost or manure, fill the rest of the raised bed with high-quality garden soil. The soil should be loose and well-draining but rich in nutrients to support the plants you plan to grow. You can find garden soil specifically for raised beds at most garden centers, but it’s important to ensure that the soil is not too dense or heavy, which can cause poor drainage.
When filling your raised bed, aim to use a soil mix that contains a combination of loamy soil, compost, and other organic material. A balanced soil mix will ensure that your plants have the best environment for growth, with the right amount of air, moisture, and nutrients.
2. Fill the Bed and Mix the Layers
Now that you have your materials, it’s time to fill your raised bed. As you add each layer, take the time to mix the materials thoroughly. Use a garden fork or shovel to turn the layers over and combine them, making sure there are no big clumps of soil, compost, or other materials. This step will ensure that the layers integrate well and form a cohesive mix that supports healthy plant growth.
If you’re using a combination of compost and soil, be sure to mix the materials so that the nutrients are evenly distributed throughout the bed. You don’t want any pockets of compost to concentrate in one area, as this could lead to uneven growth and potential problems with water retention.
Fill the Bed Up to the Top
Once you’ve mixed your layers and they’re evenly distributed, continue filling the bed until it’s about 1-2 inches below the top edge. You want to leave a little room for watering, as soil tends to settle and compact after it’s watered. If the soil sinks or compacts over time, you may need to add a little more compost or soil to top it off.
3. Final Adjustments: Check Drainage and Aeration
After filling the raised bed, you’ll want to check the drainage and aeration of the soil. Water the bed thoroughly and see if the water drains easily. If the water is sitting on top or taking too long to absorb, you might need to amend the soil by adding more organic matter like compost, sand, or perlite to improve drainage.
In other words, ensuring good drainage and aeration is crucial to the health of your plants. Soil that retains too much water can lead to root rot, while soil that drains too quickly might not hold enough moisture for your plants. Aim for a soil structure that’s balanced in both moisture retention and drainage.
4. Add Mulch and Maintain the Bed
Once your bed is filled and the soil is settled, add a layer of mulch on top to help retain moisture, suppress weeds, and maintain temperature consistency. Mulch can be made from materials like straw, wood chips, or grass clippings. As mulch breaks down over time, it will add additional nutrients to the soil.
It’s also important to keep an eye on your raised bed throughout the growing season. Over time, the soil will settle and compact slightly. You may need to add more compost or soil to replenish nutrients and ensure that your plants continue to have a healthy environment to grow.
Your Perfect Raised Bed, Ready for Planting
In other words, filling your raised garden bed the right way is key to ensuring that your plants have the best chance for success. By layering materials to create rich, well-draining soil, you provide your plants with the right nutrients and environment to thrive. Whether you’re growing vegetables, flowers, or herbs, the way you fill your raised bed will make a big difference in the health and productivity of your garden.
With these steps in mind, you’re now ready to fill your raised bed and start planting. Happy gardening, and may your raised bed flourish with lush plants and bountiful harvests!