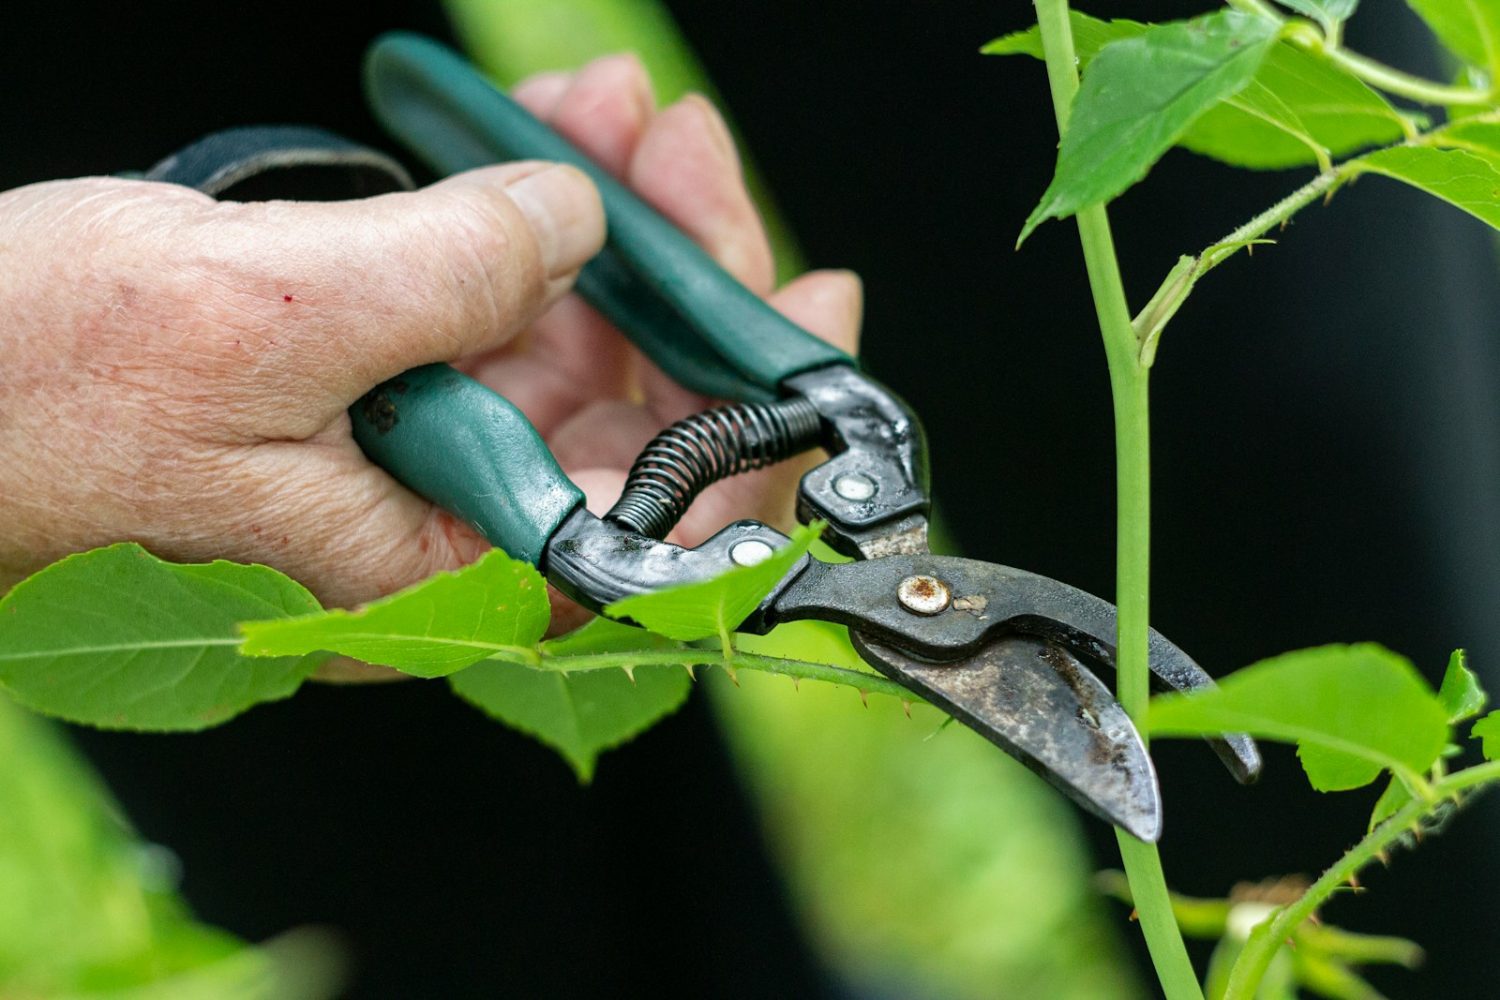
Sharp garden shears make every cut smooth, clean, and effortless. Dull blades, on the other hand, crush stems, tear leaves, and leave you tired after only a few minutes of work. The good news is that sharpening shears is simple. With the right tools and a little care, you can restore their edge and make them feel brand new.
In this guide, we’ll walk through the steps to sharpen your garden shears. We’ll cover the tools you need, the method for sharpening, and a few tips to keep them sharp longer.
Getting Your Tools Ready
Before you start sharpening, you’ll want the right setup. Most sharpening jobs can be done with a sharpening file or a whetstone. A medium-grit diamond file works especially well because it’s durable and easy to handle.
You’ll also need:
- A wire brush or steel wool to clean the blades.
- A clamp or sturdy surface to hold the shears steady.
- Safety gloves to protect your hands.
- Lubricating oil to finish the job.
Begin by cleaning the blades. Use a brush to remove dried sap, dirt, and rust. Warm soapy water works if the buildup is heavy. Once the blades are clean and dry, you’re ready to sharpen.
Step-by-Step Sharpening
Now comes the satisfying part: restoring the edge.
1. Secure the shears.
Clamp the shears to a workbench, or hold them firmly against a flat surface. You want them steady so you can work the blade without slipping.
2. Find the bevel.
Shear blades are ground at a slight angle. This sloped edge, or bevel, is where you’ll focus. Place your file or stone along the bevel, matching the angle.
3. Sharpen in one direction.
Push the file along the blade in a single, smooth motion, always moving away from your body. Do not saw back and forth. Repeat five to ten strokes, checking the edge as you go. The blade should start to feel sharper and look polished along the bevel.
4. Work evenly.
If your shears have two cutting blades, sharpen both sides. If one side is flat (like on bypass shears), only sharpen the beveled edge, then lightly smooth the flat side to remove burrs.
5. Remove burrs.
Run the file lightly across the back edge or use fine-grit sandpaper to smooth tiny burrs. This keeps the cut clean and prevents snags.
6. Oil and finish.
Wipe the blades with a little lubricating oil. This prevents rust and keeps the motion smooth. Open and close the shears a few times to spread the oil.
Keeping Shears Sharp Longer
Once sharpened, you’ll want to keep that crisp edge as long as possible. A few simple habits make a big difference.
- Clean after use. Sap and soil dull blades quickly. Wipe them down after each session.
- Store dry. Moisture leads to rust. Keep shears in a shed or toolbox, not on damp ground.
- Touch up often. A few strokes with a file every few weeks prevents heavy wear.
- Avoid forcing cuts. Don’t use shears on woody stems thicker than they’re meant for. Forcing them chips the edge.
By treating your shears well, sharpening becomes a quick touch-up rather than a full repair.
Restoring Ease to Every Cut
Sharp shears don’t just save effort—they protect your plants. Clean cuts heal faster, resist disease, and look neater. When you take time to sharpen, you’re investing in both your tools and your garden’s health.
Instead of wrestling with dull blades, enjoy the smooth snip of sharp ones. With a file, a little patience, and regular care, your garden shears will always be ready to work alongside you.
That is the quiet joy of a well-kept tool—simple, reliable, and always sharp when you need it most.

