Planting, Growing and Caring for Alliums: The Ultimate Guide
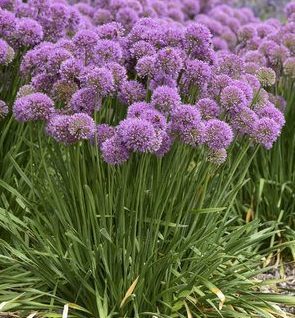
Looking to add some vibrant color and texture to your garden? Alliums are the perfect plants for you! With their globe-shaped flowers and interesting foliage, they can really make a statement. In this guide, we will teach you everything you need to know about planting, growing and caring for alliums. So whether you’re a beginner … Read more