How to Keep Squirrels Out of the Garden
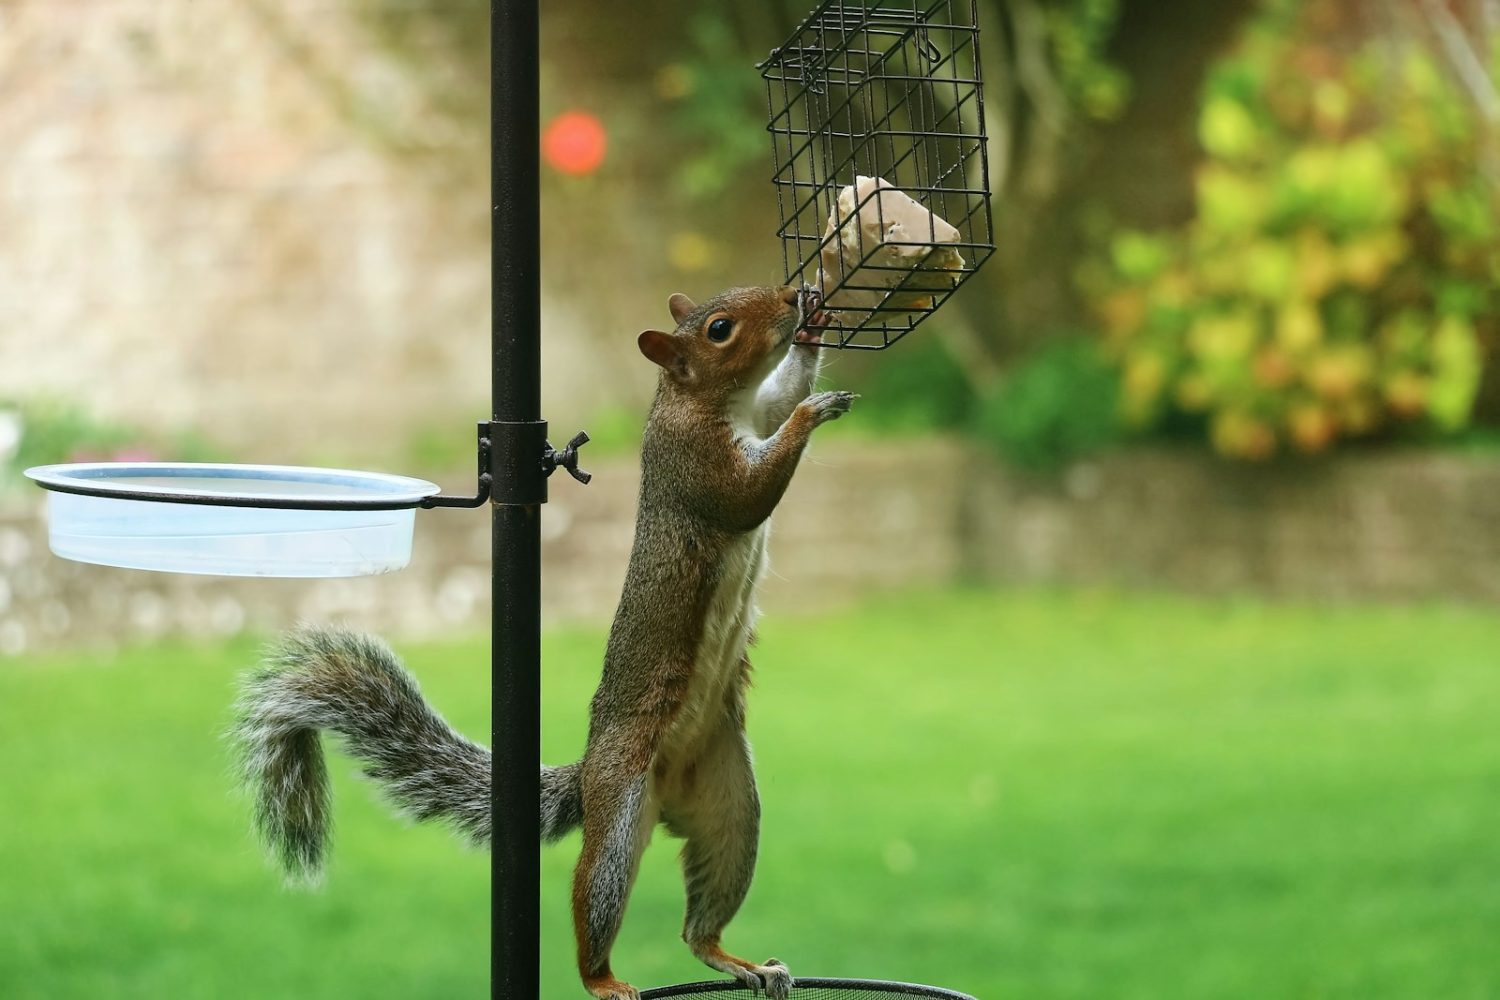
You spend weeks planting, watering, and caring for your garden. Then one morning, you step outside to find half-eaten tomatoes, missing bulbs, and overturned pots. The culprits? Squirrels. These lively little animals may look charming when chasing each other across the yard, but in the garden they can be a real headache. The good news … Read more