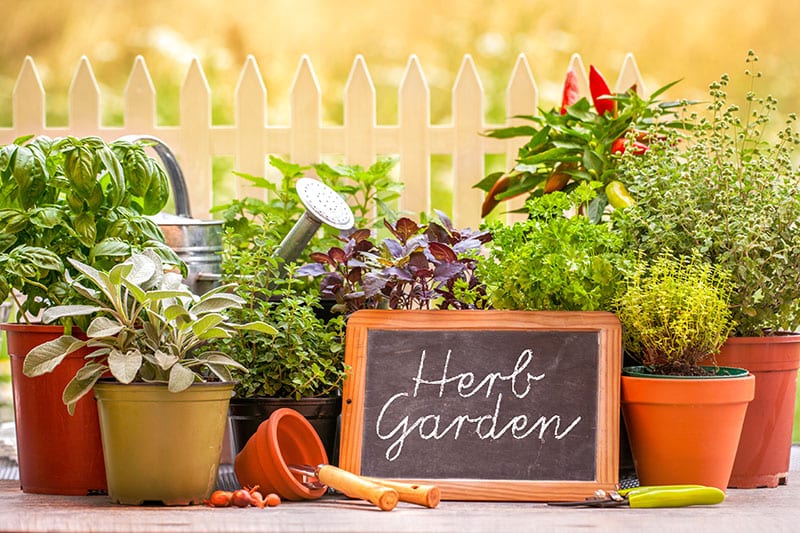
Beginner’s Guide to Growing Herbs Indoors (Basil, Mint, Oregano, and More)
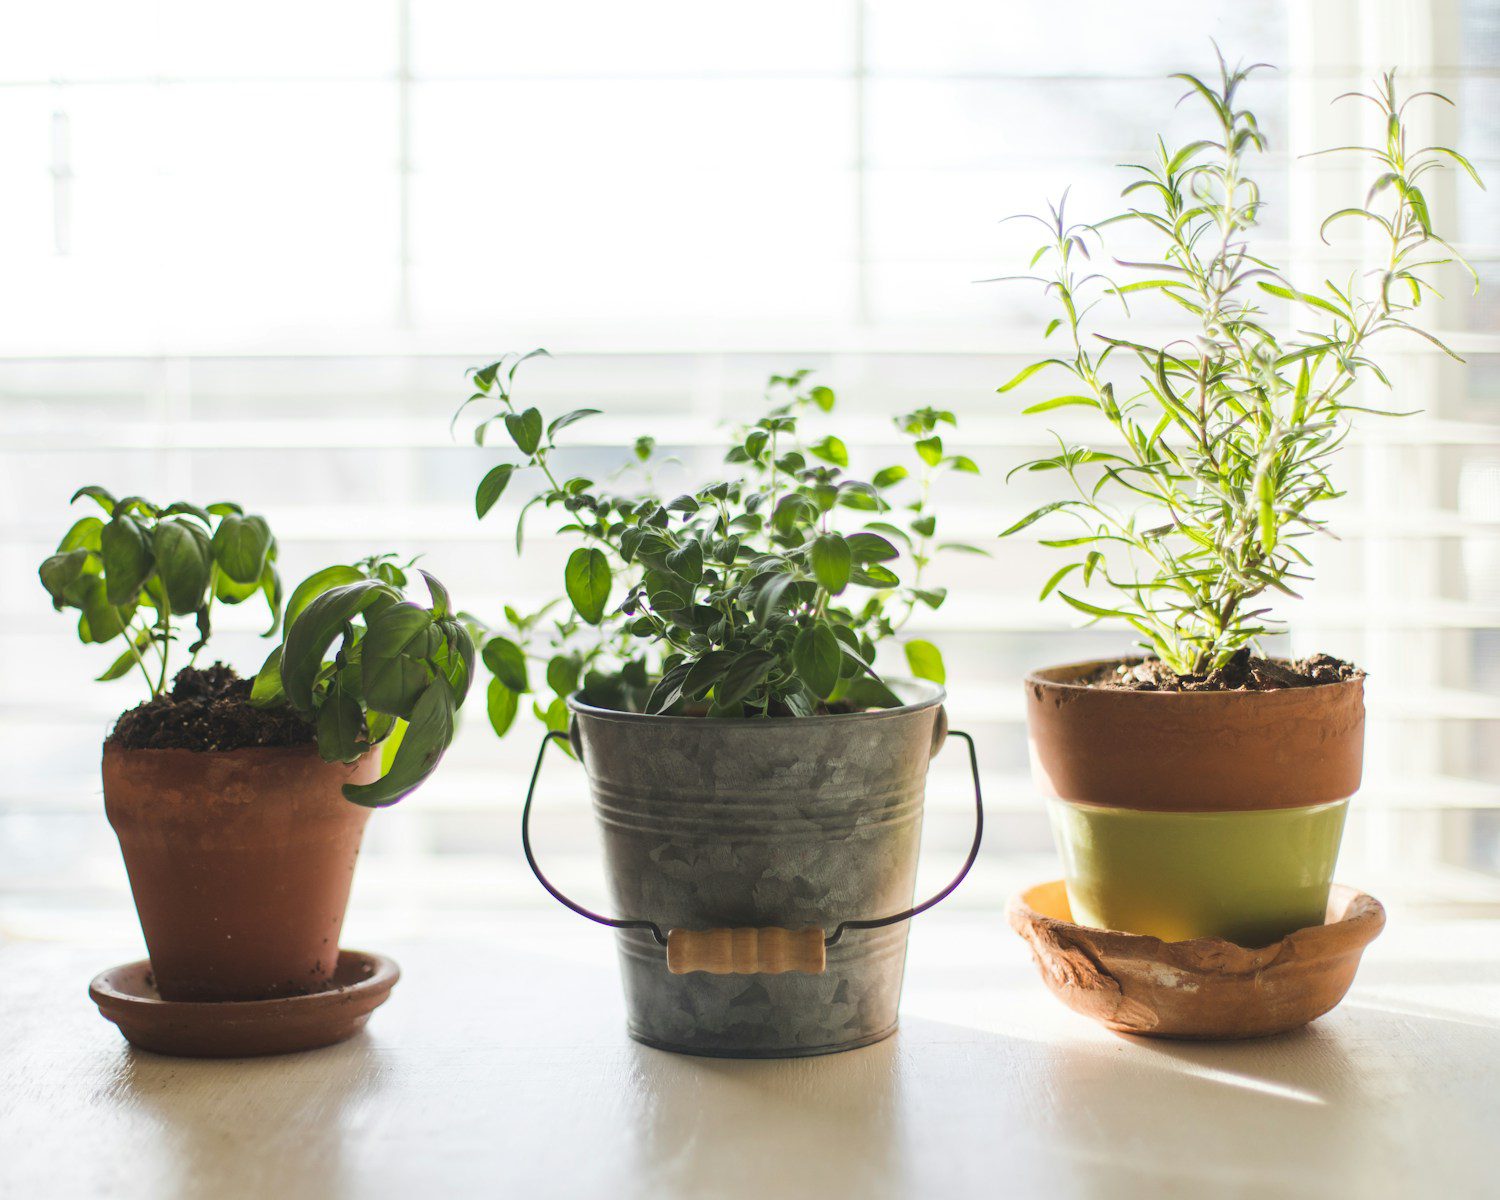
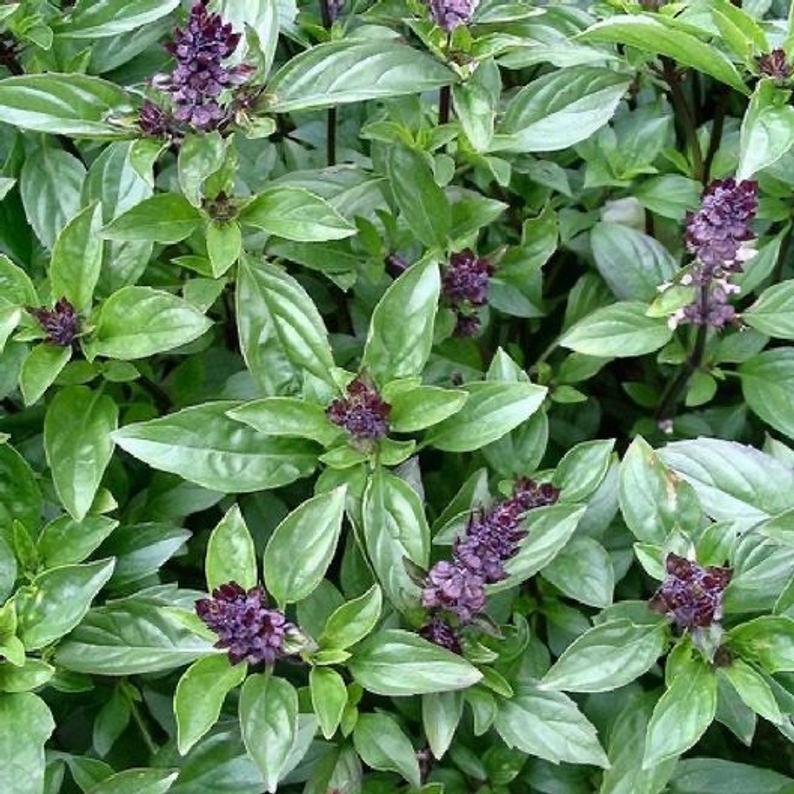
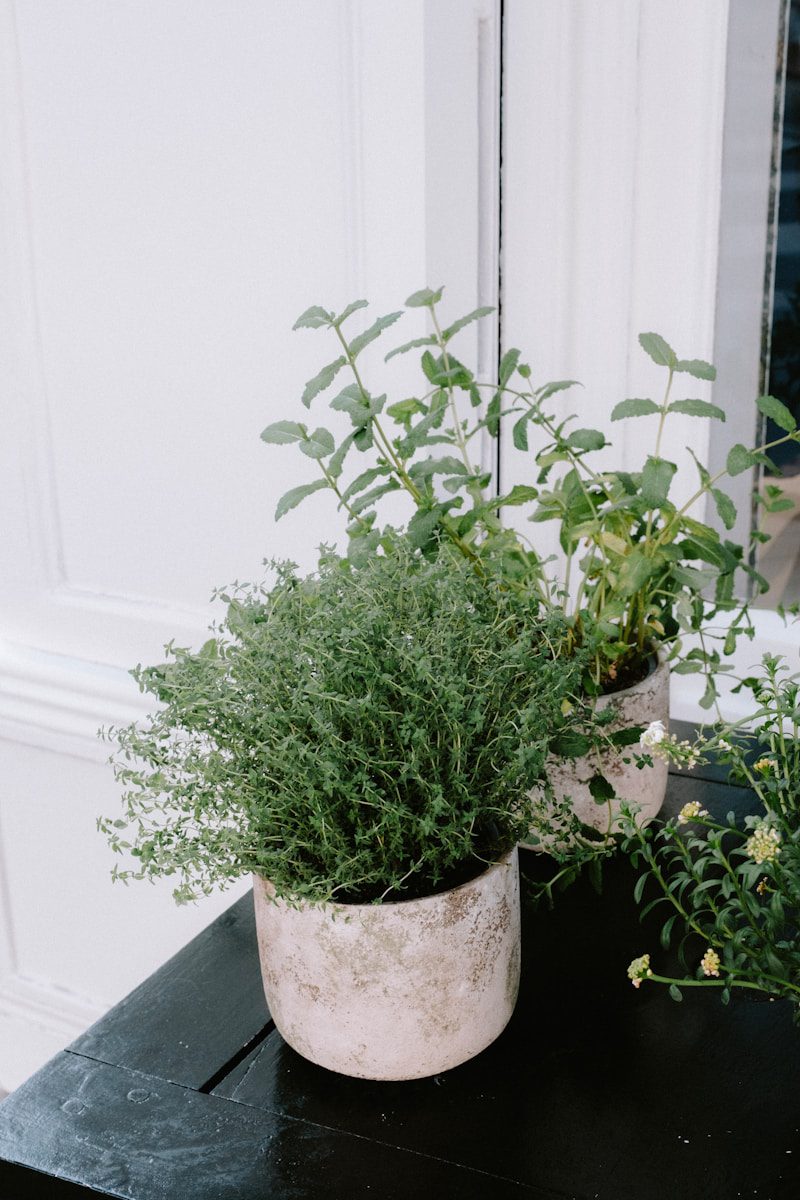
Growing fresh herbs inside your home feels like bringing a piece of the garden indoors. The vibrant scent of basil, the soothing aroma of mint, and the savory note of oregano turn everyday meals into something special. Best of all, indoor herb gardening is simple and rewarding—even if you’re new to plants. This guide walks … Read more