Your cart is currently empty!
Author: Wright Holdings, Inc.
Planting, Growing and Caring for Alliums: The Ultimate Guide
Looking to add some vibrant color and texture to your garden? Alliums are the perfect plants for you! With their globe-shaped flowers and interesting foliage, they can really make a statement. In this guide, we will teach you everything you need to know about planting, growing and caring for alliums. So whether you’re a beginner or a seasoned pro, read on for tips and advice that will help you get the most out of these beautiful plants!
Types of Alliums
There are many different types of alliums. Some have flowers that are shaped like a ball and some have leaves that are interesting.
Some of the most common alliums are:
Allium schoenoprasum – This is the most common type of allium. It has a round, globe-shaped flower and interesting foliage.
Allium cepa – This allium is also known as the onion plant. It has a round, globe-shaped flower and interesting foliage.
Allium sativum – This allium is also known as garlic. It has a round, globe-shaped flower and interesting foliage.
Planting Alliums
When planting alliums, it is important to choose a location that has well-drained soil. Alliums do not like to sit in wet or soggy soil. They also prefer full sun, but can tolerate partial shade.
To plant alliums, dig a hole that is twice the width and depth of the bulb. Plant the bulb with the pointy end facing up. Cover with soil and water well.
Caring for Alliums
Once your alliums are planted, they will need regular watering. Water them when the soil is dry to the touch. Alliums are not drought tolerant, so make sure to keep an eye on the soil and water as needed.
Fertilize your alliums once a month with a balanced fertilizer. This will help them to grow and bloom.
Alliums are not susceptible to many pests or diseases, but they can be affected by rust. Rust is a fungus that can cause the leaves of the allium to turn yellow and eventually fall off. If you notice rust on your alliums, remove any affected leaves and dispose of them. You can also treat the plant with a fungicide.
Once your alliums have finished blooming, cut off the flower heads. This will encourage the plant to put its energy into next year’s bloom.
Alliums are beautiful plants that add color and texture to any garden. With their globe-shaped flowers and interesting foliage, they are sure to make a statement. By following the tips in this guide, you will be able to successfully plant, grow and care for alliums. So get out there and enjoy these beautiful plants!
We hope you enjoyed this guide on planting, growing and caring for alliums. For more gardening tips and advice, be sure to check out our blog. Thanks for reading!
The Truth About Fertilizer: Debunking the Myths
There are a lot of myths created by marketing companies about fertilizer. Marketing has convinced people that it is some kind of magical substance that will make their plants grow big and strong overnight. The truth is, however, that fertilizer is just like any other tool- it can be used effectively or it can be misused. In this blog post, we will debunk the marketing myths about fertilizer and discuss how you can use it to improve your garden!
What do the fertilizer numbers really mean?
All growing plants need essential elements to grow to their full genetic potential. The NPK, Nitrogen, Phosphorus, Potassium, makes up the primary nutrients plants need. The other elements needed by plants are called minor elements, micronutrients or secondary nutrients. These include: sulfur, magnesium, calcium, iron, manganese, copper, zinc, boron, molybdenum and chlorine.
Fertilizer comes in different NPK ratios. The number on the bag or bottle is the percentage of how much of each kind of nutrient is in it. For example, 10-10-10 has 10% of Nitrogen, 10% of Phosphorus, and 10% of Potassium.
- Nitrogen is the most important nutrient and helps with leaf growth.
- Phosphorus helps plants to use and store energy.
- Potassium helps with overall plant health and plants’ abilities to resist disease.
Nitrogen comes in many forms, but can only be used by plants in ammonium or nitrate form. Urea, the cheapest form, must first be broken down to ammonium before plants can utilize it. Ammonium is fast-acting and can burn plants if not used correctly. Nitrate is the safest and most effective form of nitrogen for plants. Excessive amounts of urea can build up over colder months and burn plants once the weather warms up due to increased break down to ammonium form.
Phosphorus is essential for plant growth and is found in every cell of a plant. Marketing Myth: High levels of phosphorus make plants bloom more aka bloom booster. Fact: Phosphorus helps plants to use and store energy, but too much phosphorus can make plants weak and unhealthy. Excess phosphorus easily combines with minor elements and prevents their uptake by plants, leading to minor element deficiencies.
Potassium is found in all plant tissues and is important for overall plant health and the plant’s ability to resist disease. It is associated with the movement of water, nutrients and carbohydrates in plant tissue.
When to apply fertilizer?
The best time to apply fertilizer is when plants are actively growing. This is typically in the spring and summer, but can also be in the fall for certain plants. Applying fertilizer to late in the growing cycle can make plants more susceptible to cold damage and disease. Fertilizer applied to dormant plants can actually do more harm than good because the plant cannot utilize the nutrients and the excess nutrients build up in the soil. The excess nutrients can also leach through the soil and contaminate groundwater.
Plants can tell you when and what type of fertilizer to use. The location of yellowing leaves can indicate a lack of several types of nutrients, iron deficiency will show in newer leaves while nitrogen and magnesium deficiency will show in older leaves first. Older leaves turning purple can be a sign of low phosphorus.
Other factors that affect fertilizer
Soil pH plays a big part in the availability of nutrient up take by plants. Most nutrients are available to plants with a soil pH range of 5.6-6.2. Some plants grow better in the lower range and other prefer the higher range. Petunia and calibrachoa are two types of annuals that prefer the lower range and will quickly show iron deficiency above 5.8 pH. Geraniums and marigolds prefer the higher range and show iron toxicity below 5.8 pH.
Growing Olive Trees: Everything You Need to Know
Well, maybe not everything you will need to know. But this is a good start. Olive trees are a popular choice for the garden, as they are drought tolerant and can thrive in a variety of climates. They are also relatively easy to care for, making them a good option for novice gardeners.
When growing olive trees in the garden, it is important to choose a sunny spot with well-drained soil. These trees do not tolerate wet soil, so make sure to plant them in an area that will drain properly. Olive trees can be planted outdoors in USDA zones 7b+. Indoor planting in a large pot is an option for cooler climates and can be moved outdoors during the summer.
Once you have chosen a spot for your olive tree, it is time to plant it. Be sure to dig a hole that is twice the size of the tree’s container. If you are planting a bare root olive tree, make sure to soak it in water for at least 12 hours before planting. Then, place the tree in the hole and fill in with soil, making sure to pack it down firmly. Water well after planting.
Olive trees do not need much attention once they are established, but they will benefit from regular watering during periods of drought. Fertilize your olive tree once a year with a balanced fertilizer. Prune lightly every few years to keep the tree healthy and shapely.
If you live in an area where temperatures drop below freezing, you will need to protect your olive tree during winter months. One option is to wrap the trunk in insulation; another is to bring the tree indoors and place it in a sunny spot.
Shop for Olive Trees
Growing Olive Trees Indoors
In order to grow an olive tree indoors, you will need a pot that is at least 12 inches wide and 12 inches deep. You will also need to make sure that the pot has a drainage hole in the bottom so that the water can drain out. The pot should also be placed in a sunny location.
Once you have found the right pot, you will need to fill it with a soil mix that is light and well drained. You can either make your own soil mix or buy a premade mix from a garden center. Be sure to add some organic matter to the mix, such as compost, to help improve the soil’s fertility and drainage.
Once you have the pot ready, plant the olive tree in it. Be sure to spread the roots out evenly and then cover them with soil. Water thoroughly and then continue to water regularly, keeping the soil moist but not wet.
If you live in a cold climate, you will need to bring your olive tree inside during the winter months. Place it in a sunny location near a south-facing window. Avoid placing near heater vents.
Tomato Sauce: How to Use Fresh Tomatoes in Sauce
Do you have a garden full of fresh tomatoes? If so, you’re in luck! This recipe will teach you how to use those delicious tomatoes in a variety of dishes. Fresh tomatoes are a great way to add flavor and nutrition to your meals. They are also low in calories and high in antioxidants. In this recipe, we will show you how to make a simple tomato sauce that can be used on pasta, chicken, or fish. So get out your pots and pans, and let’s get cooking!
Ingredients:
-Fresh tomatoes (any variety will do)
-Olive oil
-Garlic
-Salt and pepper
-Basil leaves (optional)
Instructions:
First, start by peeling your fresh tomatoes. You can do this by scoring the skin with a sharp knife and then dipping them in boiling water for a few seconds. This will make the skin peel right off. Once your tomatoes are peeled, chop them up into small pieces.
Heat some olive oil in a large pot over medium heat. Add in the garlic and cook until fragrant. Then, add in the chopped tomatoes and season with salt and pepper to taste. If you’re using basil leaves, add them in now.
Simmer the sauce for about 30 minutes, or until it has thickened. Once it’s done, you can use it on your favorite pasta dish, chicken recipe, or fish. Enjoy!
This is a great way to use up fresh tomatoes from your garden! This recipe is simple and versatile, so you can use it in a variety of dishes. Give it a try and enjoy the delicious flavor of fresh tomatoes in your next meal. Bon appetite!
Spinach Recipes: Delicious and Nutritious Ways to Enjoy Spinach
Looking for a way to enjoy spinach that is both delicious and nutritious? Look no further! In this blog post, we will provide you with some of our favorite spinach recipes. Spinach is a nutrient-rich vegetable that is loaded with antioxidants, vitamins, and minerals. It can be added to many different dishes or enjoyed on its own. So, what are you waiting for? Start cooking!
One of our favorite ways to enjoy spinach is in a salad. Spinach is a great addition to any salad because it adds both flavor and nutrition. Try pairing it with other leafy greens, fruits, and nuts for a well-rounded meal. For an extra boost of protein, add some grilled chicken or fish.
Another delicious way to enjoy spinach is in a soup. Spinach soup is a great way to get your daily dose of greens and can be easily made vegan or vegetarian. Simply sauté some onions and garlic, then add your favorite vegetables and cook until tender. Finally, add some spinach leaves and cook for just a few more minutes. Season with salt and pepper to taste and enjoy!
If you’re looking for a more hearty dish, then try spinach lasagna. This dish is packed with protein and fiber, and is sure to keep you full. Simply layer cooked spinach, noodles, cheese, and your favorite sauce in a baking dish. Bake until the cheese is melted and bubbly, then enjoy!
We hope you enjoyed these spinach recipes. Spinach is a versatile vegetable that can be enjoyed in many different ways. So, get creative and start cooking! Your taste buds will thank you.
Looking for more recipe ideas? Check out our blog for other delicious and nutritious recipes! And don’t forget to follow us on social media for more tips, tricks, and recipes. We’re always happy to help!
Happy cooking!
Spicy Fresh Pepper Recipe: A Delicious and Nutrient-Rich Dish
Do you like to cook with fresh peppers? If so, then you’re going to love this recipe for Spicy Fresh Pepper. This dish is not only delicious, but it’s also packed full of nutrients that your body needs. Peppers are a great source of Vitamin C and other antioxidants, which can help improve your overall health. So why not give this recipe a try today? You may be surprised at just how good it is!
Ingredients:
-Fresh hot pepper (sliced)
-Olive oil
-Garlic cloves (minced)
-Salt and black pepper to taste
Instructions:
-In a large skillet, heat the olive oil over medium heat.
-Add the garlic and peppers, and cook for about five minutes, or until the peppers are slightly softened.
-Season with salt and black pepper to taste.
-Serve immediately. Enjoy!
This recipe is a great way to enjoy fresh peppers while getting a healthy dose of vitamins and minerals. So go ahead and give it a try today! You won’t be disappointed. Thanks for reading!
Parsley Pesto Recipe: A Delicious and Nutritious Way to Use Fresh Parsley
Looking for a delicious and nutritious way to use up all of that fresh parsley? Look no further than this Parsley Pesto Recipe! This recipe is easy to make and is perfect for adding flavor to pasta dishes, sandwiches, or salads. Plus, it’s loaded with healthy vitamins and minerals, making it the perfect addition to any meal. Give this recipe a try today and see how you like it!
Ingredients:
– ½ cup olive oil
– ¼ cup Parmesan cheese
– ¼ cup pine nuts
– ¼ teaspoon salt
– ¼ teaspoon black pepper
– ½ bunch fresh parsley leaves (about ½ cup)
– ⅓ cup fresh basil leaves (optional)
Instructions:
– Add all ingredients to a food processor or blender and blend until smooth.
– Taste and adjust seasoning as necessary.
– Store in a sealed container in the refrigerator for up to one week.
This parsley pesto recipe is a delicious and easy way to add flavor and nutrition to your meals. Give
— Add Add all ingredients into a food processor or blender and blend until smooth.
— Taste Taste and adjust seasoning as desired.
— Serve Serve immediately or store in a sealed container in the fridge for up to to a week. Enjoy Enjoy!!
The Best Basil Pesto Recipe: How to Make Delicious Pesto Sauce
Do you love the taste of pesto sauce, but don’t know how to make it yourself? You’re in luck! In this blog post, we will teach you how to make delicious pesto sauce with just a few simple ingredients. This recipe is perfect for beginners, and can be modified to fit your own unique tastes. Plus, it’s a great way to use up any extra basil leaves you have lying around!
So, what are you waiting for? Let’s get started!
The first step is to gather your ingredients. You will need:
-Basil leaves
-Pine nuts
-Garlic cloves
-Olive oil
-Parmesan cheese (optional)
-Salt and pepper to taste
Now that you have all of your ingredients, it’s time to start cooking!
First, you will need to chop up the garlic cloves and basil leaves. If you are using a food processor, you can simply add all of the ingredients and pulse until they are combined. If you are chopping by hand, make sure to mince the garlic as finely as possible to avoid any bites of raw garlic in your final product. Once everything is chopped up, add the olive oil and Parmesan cheese (if using) and mix until combined.
Now it’s time to taste your pesto! Season with salt and pepper to taste. If you want a thinner consistency, you can add more olive oil. If you want it to be more like a Paste, add less olive oil.
Once you’re happy with the taste and consistency, it’s time to enjoy! Serve over your favorite pasta dish, use as a pizza sauce, or enjoy as is with some crusty bread. This pesto will keep in an airtight container in the fridge for up to a week, so feel free to make a big batch and enjoy all week long!
We hope you enjoy this simple and delicious basil pesto recipe. Let us know in the comments below how it turned out for you, and be sure to share with your friends who love pesto as much as you do! Until next time, happy cooking!
Do you have a favorite recipe that you would like to share with us? We would love to hear from you in the comments below! Also, be sure to follow us on Facebook and Twitter for more delicious recipes and cooking tips. Bon appétit!
Proven Winners
Create beautiful outdoor spaces with our selection of top selling Proven Winners plants shipped to your door. Proven Winners plants are unsurpassed in terms of flowering, growth habit, disease resistance and garden performance. Proven Winners searches the world to bring you vibrant flowering annuals, perennials and shrubs that deliver the most beautiful garden performance. When you grow Proven Winners, you’ll surely fall in love. Our plants have been proven in trials conducted in numerous sites worldwide to be:
- Easy to grow and care for
- Covered with blooms
- Bright and colorful
- Healthy and vigorous
- Long-blooming
- Trialed and tested
-
Out of Stock
Out of Stock
Allium, Serendipity -
Out of Stock
Out of Stock
Baptisia (False Indigo), Decadence Blueberry Sundae -
Out of Stock
Out of Stock
Baptisia (False Indigo), Decadence Cherries Jubilee -
Out of Stock
Out of Stock
Baptisia (False Indigo), Decadence Lemon Meringue -
Out of Stock
Out of Stock
Caladium, Lemon Blush -
Out of Stock
Out of Stock
Calibrachoa, Superbells Lemon Slice -
Out of Stock
Out of Stock
Cleome, Proven Winners Senorita Blanca -
Out of Stock
Cleome, Proven Winners Senorita Rosalita -
Out of Stock
Hibiscus, Ballet Slippers -
Out of Stock
Out of Stock
Hibiscus, Berry Awesome -
Out of Stock
Out of Stock
Hibiscus, French Vanilla -
Out of Stock
Out of Stock
Hibiscus, Perfect Storm -
Out of Stock
Out of Stock
Hibiscus, Spinderella -
Out of Stock
Out of Stock
Petunia, Picasso in Purple -
Out of Stock
Out of Stock
Petunia, Supertunia Black Cherry -
Out of Stock
Out of Stock
Petunia, Supertunia Royal Magenta -
Out of Stock
Out of Stock
Petunia, Supertunia Royal Velvet -
Out of Stock
Out of Stock
Petunia, Supertunia Vista Jazzberry -
Out of Stock
Out of Stock
Petunia, Supertunia Vista Paradise
The Fascinating World of Succulent Plants: Ultimate Guide
If you’re like most people, you probably think of cacti when you hear the word “succulent.” However, succulent plants come in all shapes and sizes, and there is much more to them than just prickly plants that thrive in the desert. In this blog post, we will discuss everything you need to know about succulent plants. We’ll cover what they are, how to care for them, and some interesting facts about these fascinating plants!
Succulent plants are a type of plant that has thick, fleshy leaves or stems. This type of plant is adapted to living in dry environments, as the thick leaves and stems help to store water. Succulent plants come in all sorts of shapes and sizes, from small, delicate-looking plants to large, tree-like succulents.
Now that you know a bit more about succulent plants, let’s take a look at some interesting facts about these fascinating plants!
Light
Growing succulent plants benefit from getting a few hours of sun. Put succulents outdoors during morning hours, gradually increasing their exposure to direct sunlight over several days or weeks until they’re used to full sun exposure. You can also place succulents into an area that receives indirect light all day long. This will allow them to adjust more slowly by giving succulent leaves time to react and close up during periods of intense heat or bright light while still receiving adequate water and nutrients.
Treat succulents as houseplants and keep them near a sunny window, at least 6 to 8 hours of sun exposure per day. If your succulents aren’t getting enough sunlight, the leaves will be thin and succulent rosettes will be small.
Water
Keep growing succulent plants evenly moist and fertilize them with a dilute (half-strength) plant food solution, but don’t fertilize succulents that go outdoors until the weather warms up enough for succulent leaves to begin opening again – then stop fertilizing altogether once succulents start storing energy for next year’s succulent growth.
If your succulents are inside, water succulents when they look shriveled or let them dry out. Water succulents until the water trickles through the drainage hole – succulents also absorb moisture through their succulent leaves. Finally, water your succulents sparingly; too much water can lead to root rot.
Soil
Soil is the primary growing medium, choose a well-draining soil and be sure to adjust your soil mixture based on where you plan on growing succulent plants. Succulent soil should drain well and not hold too much moisture. Most soil mixtures for cacti include coarse sand or perlite (or both) as primary ingredients, with composted bark or other organic matter incorporated. If you want to use soil that doesn’t include sand, perlite or bark as an ingredient, make sure you purchase a bagged potting soil designed for cactus and succulents – do not use topsoil from your garden! You can also make your own custom soil mix using materials like: 1/3 soil, 1/3 compost, 1/3 perlite. Succulents require soil that is free of plant food or fertilizers since these will burn your succulent’s roots and ultimately kill the plant.
Succulent Plants
Huernia zebrina, Lifesaver Plant
Most succulents require a lot in order to thrive and that’s where Huernias like this one (Huernia zebrina Lifesaver Plant) come into play. This plant is easy-to-grow and has an unusual beauty when in bloom. The lifesaver plant (Huernia zebrina) is perfect for beginners or experts alike!
Aloe, White Fox
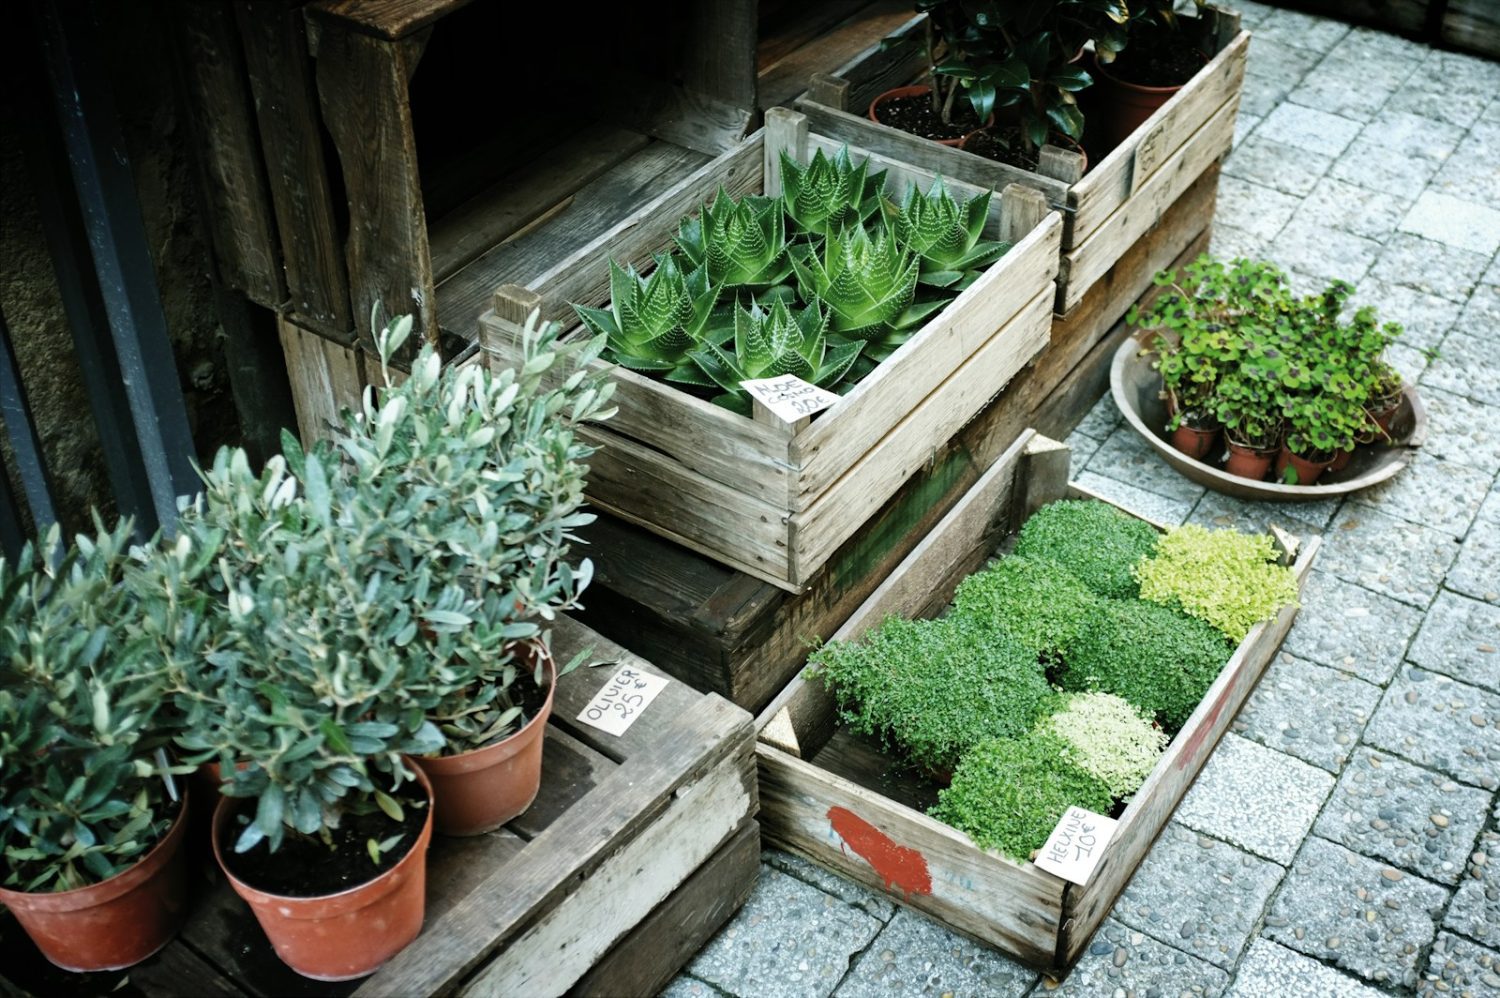
Aloe ‘White Fox’ is a dwarf succulent that displays rosettes of thick green leaves with distinctive white markings that become more prominent in bright light.