Posted on

Planting, Growing and Caring for Alliums: The Ultimate Guide

Allium, Serendipity

Looking to add some vibrant color and texture to your garden? Alliums are the perfect plants for you! With their globe-shaped flowers and interesting foliage, they can really make a statement. In this guide, we will teach you everything you need to know about planting, growing and caring for alliums. So whether you’re a beginner or a seasoned pro, read on for tips and advice that will help you get the most out of these beautiful plants!

Types of Alliums

There are many different types of alliums. Some have flowers that are shaped like a ball and some have leaves that are interesting.

Some of the most common alliums are:

Allium schoenoprasum – This is the most common type of allium. It has a round, globe-shaped flower and interesting foliage.

Allium cepa – This allium is also known as the onion plant. It has a round, globe-shaped flower and interesting foliage.

Allium sativum – This allium is also known as garlic. It has a round, globe-shaped flower and interesting foliage.

Planting Alliums

When planting alliums, it is important to choose a location that has well-drained soil. Alliums do not like to sit in wet or soggy soil. They also prefer full sun, but can tolerate partial shade.

To plant alliums, dig a hole that is twice the width and depth of the bulb. Plant the bulb with the pointy end facing up. Cover with soil and water well.

Caring for Alliums

Once your alliums are planted, they will need regular watering. Water them when the soil is dry to the touch. Alliums are not drought tolerant, so make sure to keep an eye on the soil and water as needed.

Fertilize your alliums once a month with a balanced fertilizer. This will help them to grow and bloom.

Alliums are not susceptible to many pests or diseases, but they can be affected by rust. Rust is a fungus that can cause the leaves of the allium to turn yellow and eventually fall off. If you notice rust on your alliums, remove any affected leaves and dispose of them. You can also treat the plant with a fungicide.

Once your alliums have finished blooming, cut off the flower heads. This will encourage the plant to put its energy into next year’s bloom.

Alliums are beautiful plants that add color and texture to any garden. With their globe-shaped flowers and interesting foliage, they are sure to make a statement. By following the tips in this guide, you will be able to successfully plant, grow and care for alliums. So get out there and enjoy these beautiful plants!

We hope you enjoyed this guide on planting, growing and caring for alliums. For more gardening tips and advice, be sure to check out our blog. Thanks for reading!

Posted on

The Truth About Fertilizer: Debunking the Myths

fertilizer

There are a lot of myths created by marketing companies about fertilizer. Marketing has convinced people that it is some kind of magical substance that will make their plants grow big and strong overnight. The truth is, however, that fertilizer is just like any other tool- it can be used effectively or it can be misused. In this blog post, we will debunk the marketing myths about fertilizer and discuss how you can use it to improve your garden!

What do the fertilizer numbers really mean?

All growing plants need essential elements to grow to their full genetic potential. The NPK, Nitrogen, Phosphorus, Potassium, makes up the primary nutrients plants need. The other elements needed by plants are called minor elements, micronutrients or secondary nutrients. These include: sulfur, magnesium, calcium, iron, manganese, copper, zinc, boron, molybdenum and chlorine.

Fertilizer comes in different NPK ratios. The number on the bag or bottle is the percentage of how much of each kind of nutrient is in it. For example, 10-10-10 has 10% of Nitrogen, 10% of Phosphorus, and 10% of Potassium.

  • Nitrogen is the most important nutrient and helps with leaf growth.
  • Phosphorus helps plants to use and store energy.
  • Potassium helps with overall plant health and plants’ abilities to resist disease.

Nitrogen comes in many forms, but can only be used by plants in ammonium or nitrate form. Urea, the cheapest form, must first be broken down to ammonium before plants can utilize it. Ammonium is fast-acting and can burn plants if not used correctly. Nitrate is the safest and most effective form of nitrogen for plants. Excessive amounts of urea can build up over colder months and burn plants once the weather warms up due to increased break down to ammonium form.

fertilizer

Phosphorus is essential for plant growth and is found in every cell of a plant. Marketing Myth: High levels of phosphorus make plants bloom more aka bloom booster. Fact: Phosphorus helps plants to use and store energy, but too much phosphorus can make plants weak and unhealthy. Excess phosphorus easily combines with minor elements and prevents their uptake by plants, leading to minor element deficiencies.

Potassium is found in all plant tissues and is important for overall plant health and the plant’s ability to resist disease. It is associated with the movement of water, nutrients and carbohydrates in plant tissue.

When to apply fertilizer?

The best time to apply fertilizer is when plants are actively growing. This is typically in the spring and summer, but can also be in the fall for certain plants. Applying fertilizer to late in the growing cycle can make plants more susceptible to cold damage and disease. Fertilizer applied to dormant plants can actually do more harm than good because the plant cannot utilize the nutrients and the excess nutrients build up in the soil. The excess nutrients can also leach through the soil and contaminate groundwater.

Plants can tell you when and what type of fertilizer to use. The location of yellowing leaves can indicate a lack of several types of nutrients, iron deficiency will show in newer leaves while nitrogen and magnesium deficiency will show in older leaves first. Older leaves turning purple can be a sign of low phosphorus.

Other factors that affect fertilizer

Soil pH plays a big part in the availability of nutrient up take by plants. Most nutrients are available to plants with a soil pH range of 5.6-6.2. Some plants grow better in the lower range and other prefer the higher range. Petunia and calibrachoa are two types of annuals that prefer the lower range and will quickly show iron deficiency above 5.8 pH. Geraniums and marigolds prefer the higher range and show iron toxicity below 5.8 pH.

Posted on

Growing Olive Trees: Everything You Need to Know

olive trees

Well, maybe not everything you will need to know. But this is a good start. Olive trees are a popular choice for the garden, as they are drought tolerant and can thrive in a variety of climates. They are also relatively easy to care for, making them a good option for novice gardeners.

When growing olive trees in the garden, it is important to choose a sunny spot with well-drained soil. These trees do not tolerate wet soil, so make sure to plant them in an area that will drain properly. Olive trees can be planted outdoors in USDA zones 7b+. Indoor planting in a large pot is an option for cooler climates and can be moved outdoors during the summer.

Once you have chosen a spot for your olive tree, it is time to plant it. Be sure to dig a hole that is twice the size of the tree’s container. If you are planting a bare root olive tree, make sure to soak it in water for at least 12 hours before planting. Then, place the tree in the hole and fill in with soil, making sure to pack it down firmly. Water well after planting.

Olive trees do not need much attention once they are established, but they will benefit from regular watering during periods of drought. Fertilize your olive tree once a year with a balanced fertilizer. Prune lightly every few years to keep the tree healthy and shapely.

If you live in an area where temperatures drop below freezing, you will need to protect your olive tree during winter months. One option is to wrap the trunk in insulation; another is to bring the tree indoors and place it in a sunny spot.

Shop for Olive Trees

Growing Olive Trees Indoors

In order to grow an olive tree indoors, you will need a pot that is at least 12 inches wide and 12 inches deep. You will also need to make sure that the pot has a drainage hole in the bottom so that the water can drain out. The pot should also be placed in a sunny location.

Once you have found the right pot, you will need to fill it with a soil mix that is light and well drained. You can either make your own soil mix or buy a premade mix from a garden center. Be sure to add some organic matter to the mix, such as compost, to help improve the soil’s fertility and drainage.

Once you have the pot ready, plant the olive tree in it. Be sure to spread the roots out evenly and then cover them with soil. Water thoroughly and then continue to water regularly, keeping the soil moist but not wet.

If you live in a cold climate, you will need to bring your olive tree inside during the winter months. Place it in a sunny location near a south-facing window. Avoid placing near heater vents.

Posted on

Proven Winners

proven winners
proven winners

Create beautiful outdoor spaces with our selection of top selling Proven Winners plants shipped to your door. Proven Winners plants are unsurpassed in terms of flowering, growth habit, disease resistance and garden performance. Proven Winners searches the world to bring you vibrant flowering annuals, perennials and shrubs that deliver the most beautiful garden performance. When you grow Proven Winners, you’ll surely fall in love. Our plants have been proven in trials conducted in numerous sites worldwide to be:

  • Easy to grow and care for
  • Covered with blooms
  • Bright and colorful
  • Healthy and vigorous
  • Long-blooming
  • Trialed and tested

Posted on

The Fascinating World of Succulent Plants: Ultimate Guide

Growing Succulent Plants

If you’re like most people, you probably think of cacti when you hear the word “succulent.” However, succulent plants come in all shapes and sizes, and there is much more to them than just prickly plants that thrive in the desert. In this blog post, we will discuss everything you need to know about succulent plants. We’ll cover what they are, how to care for them, and some interesting facts about these fascinating plants!

Succulent plants are a type of plant that has thick, fleshy leaves or stems. This type of plant is adapted to living in dry environments, as the thick leaves and stems help to store water. Succulent plants come in all sorts of shapes and sizes, from small, delicate-looking plants to large, tree-like succulents.

Now that you know a bit more about succulent plants, let’s take a look at some interesting facts about these fascinating plants!

Light

Growing Succulent Plants

Growing succulent plants benefit from getting a few hours of sun. Put succulents outdoors during morning hours, gradually increasing their exposure to direct sunlight over several days or weeks until they’re used to full sun exposure. You can also place succulents into an area that receives indirect light all day long. This will allow them to adjust more slowly by giving succulent leaves time to react and close up during periods of intense heat or bright light while still receiving adequate water and nutrients.

Treat succulents as houseplants and keep them near a sunny window, at least 6 to 8 hours of sun exposure per day. If your succulents aren’t getting enough sunlight, the leaves will be thin and succulent rosettes will be small.

Water

Keep growing succulent plants evenly moist and fertilize them with a dilute (half-strength) plant food solution, but don’t fertilize succulents that go outdoors until the weather warms up enough for succulent leaves to begin opening again – then stop fertilizing altogether once succulents start storing energy for next year’s succulent growth.

If your succulents are inside, water succulents when they look shriveled or let them dry out. Water succulents until the water trickles through the drainage hole – succulents also absorb moisture through their succulent leaves. Finally, water your succulents sparingly; too much water can lead to root rot.

Soil

Soil is the primary growing medium, choose a well-draining soil and be sure to adjust your soil mixture based on where you plan on growing succulent plants. Succulent soil should drain well and not hold too much moisture. Most soil mixtures for cacti include coarse sand or perlite (or both) as primary ingredients, with composted bark or other organic matter incorporated. If you want to use soil that doesn’t include sand, perlite or bark as an ingredient, make sure you purchase a bagged potting soil designed for cactus and succulents – do not use topsoil from your garden! You can also make your own custom soil mix using materials like: 1/3 soil, 1/3 compost, 1/3 perlite. Succulents require soil that is free of plant food or fertilizers since these will burn your succulent’s roots and ultimately kill the plant.

Succulent Plants

Huernia zebrina, Lifesaver Plant

Most succulents require a lot in order to thrive and that’s where Huernias like this one (Huernia zebrina Lifesaver Plant) come into play. This plant is easy-to-grow and has an unusual beauty when in bloom. The lifesaver plant (Huernia zebrina) is perfect for beginners or experts alike!

Aloe, White Fox

Aloe ‘White Fox’ is a dwarf succulent that displays rosettes of thick green leaves with distinctive white markings that become more prominent in bright light.

Posted on

Trends in Garden Design

Calibrachoa, Chameleon Cherry Banana

Gardening is all about making you happy. We get it! And the best thing about gardening is that no one can tell you what to do in your own backyard, but we still want to share some trends with you for inspiration.

Here are our top three trends in garden design: Intentionality – Considering how everything—each plant, piece of garden art or furniture, structure, material, pot and more-contributes to your space as a whole; Living Whole Gardens – Creating spaces where people live and work together on an integrated site; Garden Housekeeping – Making sure every part of the garden has its place.

Trends in Garden Design

Intentionality

Creating a beautiful garden is an art form, and like any other form of art, it takes intentionality. When you’re planning your garden, be sure to consider how every element will contribute to the whole. From the plants you choose to the color of the pots, everything should be intentional.

Living Whole Gardens

Gardens have long been used as spaces for relaxation and escape, but in 2022, they’ll also become places for people to live and work together. With advances in technology, we’ll see more gardens that integrate living and working spaces into one cohesive whole. This will create a more sustainable and efficient use of space.

Garden Housekeeping

In order to maintain a beautiful garden, you’ll have to keep up with the “cleanup crew” – the gardeners and landscapers who manage plant health, turf care and debris removal. This means having a regular maintenance schedule that works for you. It will be important to maintain cleanliness in your garden so you can enjoy it as much as possible.

At the end of each season: 1) As soon as it’s done blooming, get rid of faded annuals; 2) Turn pots right side up and stash away any that won’t be used again until the following year; 3) Store long-handled tools in a shed or garage; 4) Clean and oil all tools, then hang them up or put them in a tool box.

In the Spring Garden: 1) Order seeds and plants; 2) Start seeds indoors; 3) Sharpen blades on tools.

In the Summer Garden: 1) Weed; 2) Water; 3) Harvest vegetables and fruits.

In the Fall Garden: 1) Remove dead plants; 2) Mulch flower beds and trees; 3) Store pots and furniture.

We hope these trends inspire you to get creative with your garden this season! Happy gardening!

Posted on

How Birds and Other Flying Creatures Can Benefit a Garden

Seeds are planted, watered, washed with sunlight, charged with electrons during a thunder and lightning storm and nurtured to maturity. We as humans absolutely depend on this process. But so do the pollinators. Those hard-working players in this ecological balancing act are active in our gardens 24/7.

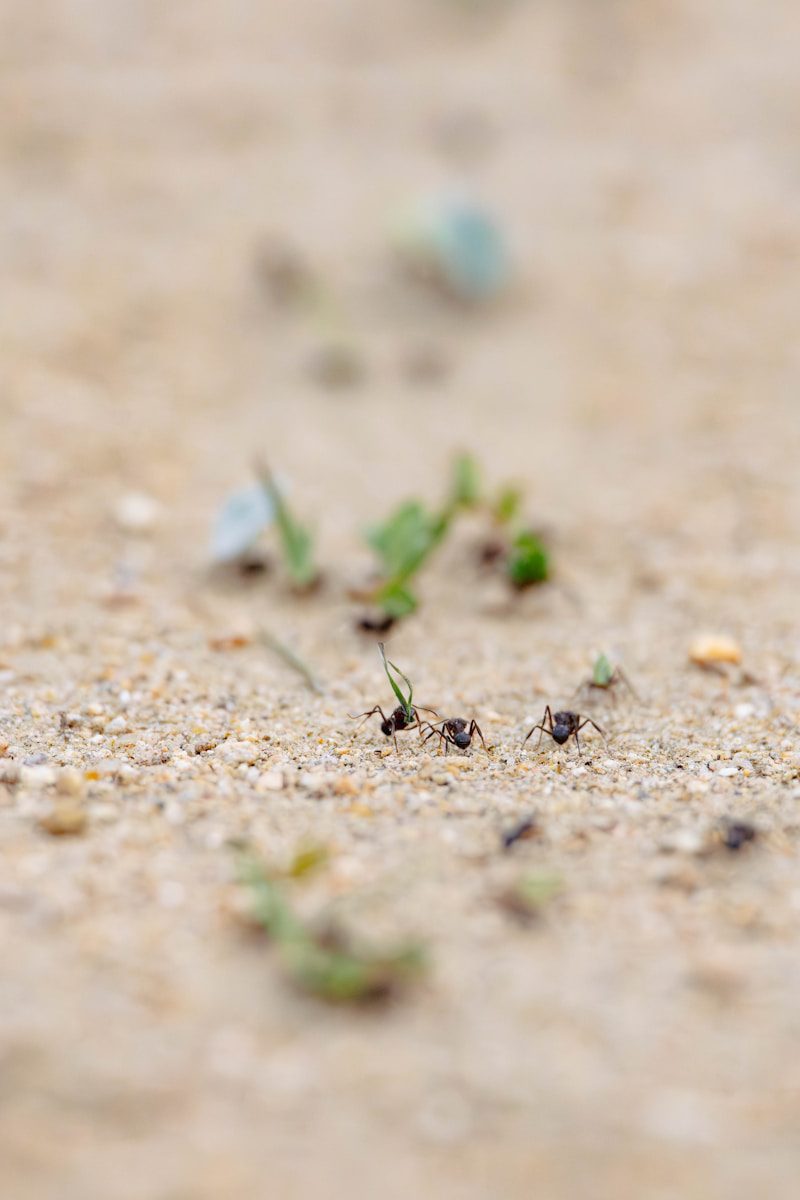
Birds, bees, butterflies, moths, bats, beetles, ants and yes, even the lowly flies have important beneficial duties to perform in the garden. Flowers, fruits and vegetables have adopted elegant systems to attract carriers, and attach and distribute their pollen for optimum survival of the species.

To a bird, insect or bat, your garden is a metropolis filled with neon signs and billboards advertising its goods. The neon signs and billboards are the flower petals. They attract attention using color, including ultraviolet markers, fragrance, shape and size. The ultimate reward for the transporter is the sweet and nutritious nectar of the flower. The base of the sign is the flower stalk, which is designed to hold the flower high enough to be easily seen. This insures it won’t be trampled by insect and critter traffic on the ground before it has a chance to be fertilized.

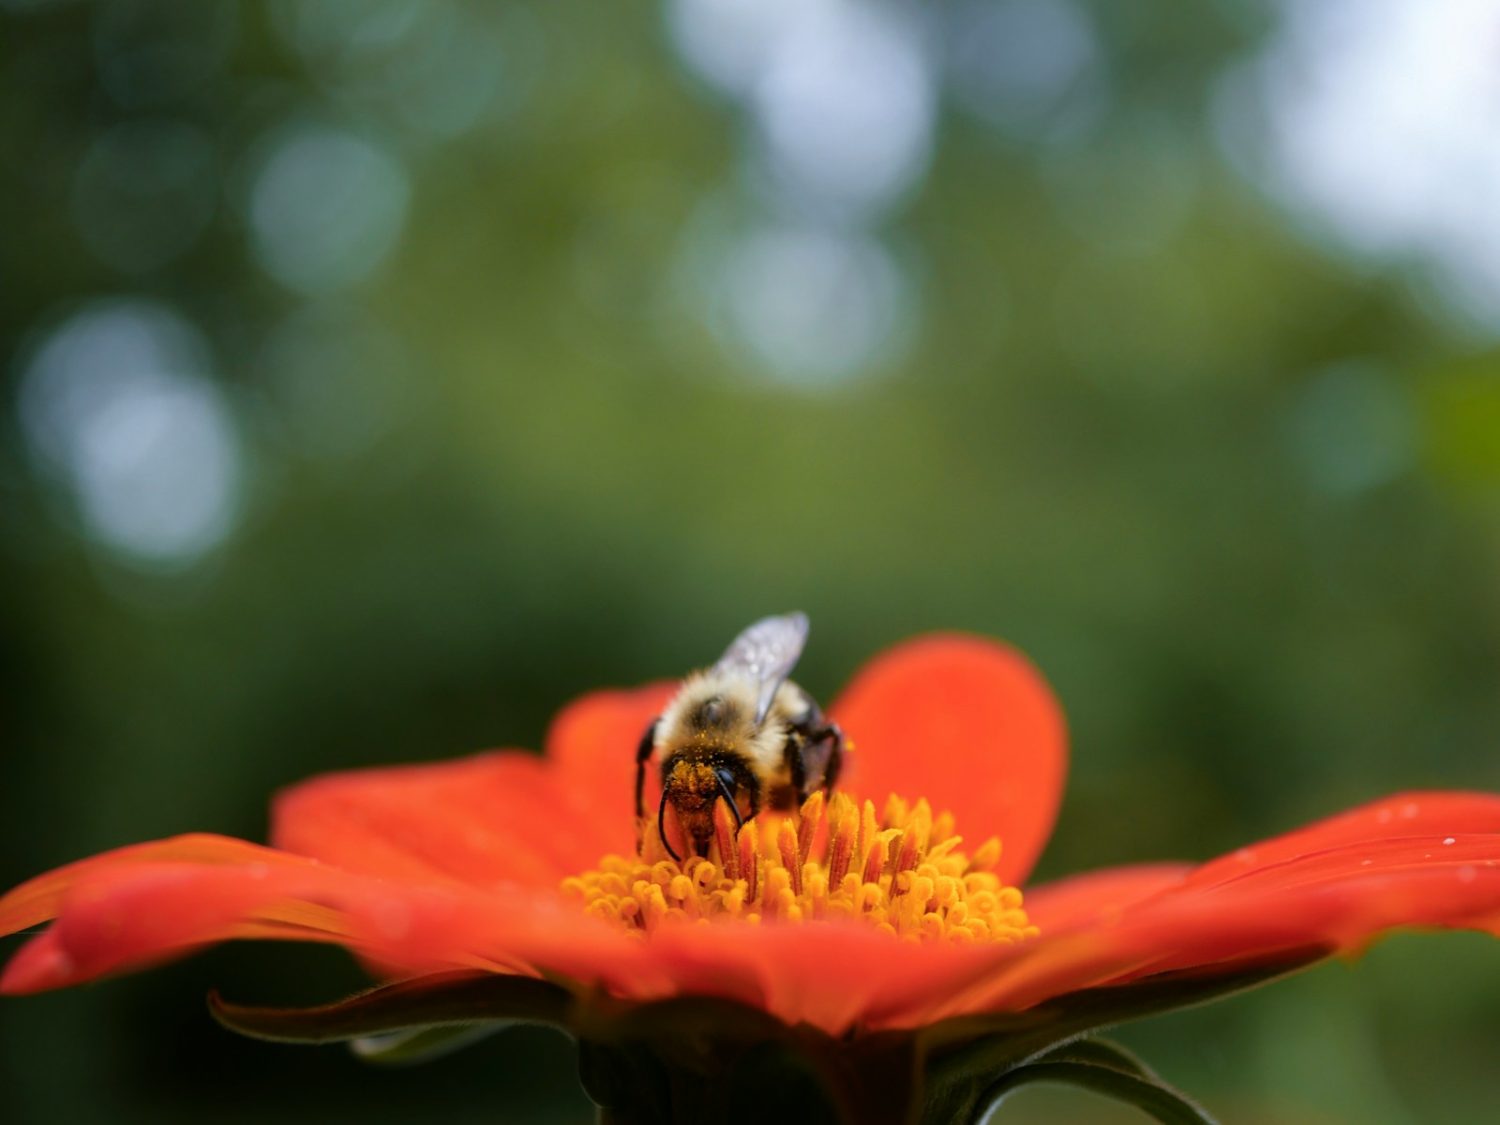
A bee has seen the ultraviolet nectar sign and beats a path to its target. Hairs on the bees abdomen are statically charged to help hold the pollen as it brushes the anther, which is the male part of the plant that produces the fertilizing powder. Bees also have built-in ‘saddle bags’ and ‘baskets’ on their legs and body parts to transport the pollen to the next flower. Once the pollen is brushed off onto the sticky stigma (female part of the plant), it travels down the stigma’s tube to the ovary and ovules at the base of the flower. There each ovule becomes a new fertilized flower seed. And that is the ultimate reward for the flower!

Evolution has further modified plants to provide just the right size nectar tube to accommodate the exact size critter tongue. For example, moths hover to feed, so they need a flat flower with a deep tube to match the length of the moth’s tongue. The flower will be white or very light in order to be seen in the moonlight, and it will be heavily scented to be found in the dark of night.

Bats work the nightshift as well. Those flowers that open after sundown and are extremely fragrant, large, showy and white with larger pollen grains will attract our echo-locators’ attention. They have bristles on their tongues to which some pollen sticks as they lap up the nectar. It is then transferred to the next flower from the bat’s head, feet and tongue. Larger, tougher flowers will accommodate the bat’s head without damage. Additionally, bats can consume thousands of harmful insects each night. I’d hate to think where we’d be without their vigilance!

Bees are particularly attracted to yellow and blue colors as well as sweet smelling plants. The flower tubes of these plants just happen to be the right size for the bee’s tongue to reach. Interestingly, snapdragons can only be ‘unlocked’ by a bee of the right size and weight to ‘provide the right key’ to open the ‘magic door’ to the ‘treasure room’.

Conversely, butterflies do not have a good sense of smell, but they can see the color red. Did you know that they ‘taste’ with their feet? They have highly sensitive receptors that tell them if they are on the right nectar-rich plant, or on the edge of a yummy mud puddle full of minerals and moisture necessary for their survival. Flowers that produce clusters of smaller flowerettes create a good landing pad for the butterflies so they can sip securely.

Those plants that store their pollen inside the anther rather than on top, such as the tomato, need to be shaken to make sure the pollen is released through the pores of the stamen. Bumblebees provide this service. They land on the flower and then vibrate their wings, and voila!

Beetles are another flying creature that can benefit a garden. They love the spicy or fruity scents of large greenish or off-white flowers. Since beetles have fairly efficient chompers, these particular flowers have developed armor to protect the delicate ovules from damage as the beetles go about their pollinator task.

Hummingbirds have a good sense of smell and are drawn to red, orange and pink tubular flowers in your garden. I’m sure you’ve seen a hummer sipping nectar from a hanging fuschia or potted petunia. They require flower petals that are curved away from their fast-beating wings as they feed. Pollen is transferred to their chest, beak and head in the process.

Songbirds do not have a strong sense of smell, so they seek brightly colored flowers such as red, orange, pink, yellow and purple. They not only spread pollen via their beaks, heads, chests and feet, but distribute the seeds that they have eaten via their droppings. A location where birds congregate on a regular basis will yield ‘surprise’ gardens, which have automatically been planted and fertilized by our beautiful aviators.

Additionally, birds consume a huge amount of insects. Bugs that can do damage to our flowers, vegetables and fruits are fed to baby birds as a nutrient-rich protein source. This helps the baby birds grow fast and strong. Adult birds benefit from consuming these protein snacks as well. Blue Jays even use ants to ‘comb’ their feathers and repel other insects with the formic acid they exude! Thankfully, our backyard birds do a number on vast quantities of insects every day.

All this biodiversity insures a vastly varied gene pool. The larger the gene pool, the better the chance a lot of different species survive to reproduce. Resist the temptation to swat a bee or squash a ladybug. Remember, they do great things for our orchards, farms and gardens.

Without birds and other flying creatures to provide these essential benefits to our gardens we would be overrun by harmful insects, which would then destroy our wonderful flowers, vegetables and fruit trees. Even if they weren’t done in by insects, without the pollination process so efficiently performed by our pollinator friends, there would be no more flowers, veggies or fruits. Our ecological balance would be destroyed and us along with it. That’s how important these vastly underrated birds and other flying creatures are to all of us!

Posted on

Compost Tea Bags – Best Organic Fertilizer For Hydroponic Nutrients and Container Gardening

You cannot use the same fertilizer for growing crops in soil to grow hydroponic gardens. The reason is because soil will interact with the fertilizer in a much different way than water without soil. Therefore, a different fertilizer must be employed for hydroponic nutrients.

Then there are the arguments that chicken manure makes the best fertilizer. I have even heard people telling you to mix it with cow manure and add it directly to your gardens. That is a definite mistake because fresh manure of any kind will be too “hot” and burn up your plants. Chicken and cow droppings must be aged and composted to yield the beneficial microbes in safe amounts. This is now as simple as using a compost tea bag.

Compost tea is a nutritionally rich “extract” of microbes, enzymes and bio-active plant compounds made from compost. It is a true organic fertilizer.

I have discovered the best compost tea bags that are created by a certain family farm in Stony Point, North Carolina.

At first glance, I did not see anything special about their compost tea until I tried it on my own garden. The results were nothing short of amazing. I grow everything in 10′ flower pots. The plants are greener. The peppers, tomatoes and cucumbers are beautiful.

I went personally to the Smith Farm to inquire about the formula for creating compost tea bags. You see, they have a “secret recipe” in creating the whole process to make compost teabags.

Shhhh! They use dairy milk cow manure.

“There is virtually no smell because it is made from Dairy cows’ manure which is the creme de la creme of gourmet cow pies!”

At Smith Farm they pointed out that plant roots have little hairs and if these ever dry out, the plants will die. Compost tea bags will add enough hydroponic nutrients to the irrigation solution to satisfy your plants. It is truly a beneficial organic fertilizer whether you grow in hydroponic systems or in container gardening.

Posted on

The Importance of Garden Edging

Gardens add beauty to any home. It does not matter if a garden is large or just a pocket garden around the corner, it still provides an aesthetic advantage. A garden adds color to surroundings and brings in fresh air to your home as well. However, if you have a medium to large sized garden and you have varieties of bushes and flowering plants on it, then it is important to add something that will make your yard more functional as well as attractive. This is where garden edging comes into the picture.

Garden edging is simply a border that frames your plant beds. The initial use of garden bed edging is to separate your plants from the grass lawn. By doing this, your garden will have a well defined look that is definitely more attractive. Adding a border also eliminates the need of frequent grass plucking from the plant beds. It also keeps mulch in its place and provides a mowing path that makes mowing easier; no more accidental clipping of your flowering plants. The edging will guide your mower and prevent it from cutting your plants by mistake.

Garden borders and edging can make garden maintenance easier. Most homeowners do not like the idea of tending their gardens regularly and doing things such as weeding and mulching. Another common but dreaded gardening task is keeping the grass in shape.

Garden edgings, as a matter of fact, reduce the need of frequent weeding. They also keep mulch in the plant bed, thus eliminating the need of mulching repeatedly. If you have garden edgings in your yard, you will have a more defined pathway so your visitors would not have to guess where to walk.

One of the most common struggles homeowners encounter when tending a garden is the grass that keeps growing out of place. This can be very frustrating, especially to those who have no much time to care for their lawns in regular intervals. When grasses, and sometimes even plants, go out of way, this result in unattractive lawn. However, with the properly placed edgings, this problem will surely be eliminated.

Since landscape edgings aid in defining and separating particular garden areas, you will be able to take care of your garden with ease. Edgings mark the areas where the plants and grasses are not supposed to meet; therefore you will be able to determine if they are going astray.

There are different designs of edgings for gardens. Most designs or layouts match the edges of traditional lawn mowers. This makes it easier for you to control your mower while trimming around the edges.

Although some disagree that edgings are vital to the plants’ health, most people swear that border installation plays a great role in their plants’ life. This is because borders keep out weeds, which can bring in diseases. Therefore, by properly placing garden borders, you won’t need to spray herbicide much often.

Apart from the benefits, it is obvious that garden edging also brings artistic value to your lawn. This reason alone might be enough to help you understand why it is important to install borders in your garden.

Posted on

Choosing the Right Outdoor Plant Container

From teacups to oil drums, there is nothing you can’t use as an outdoor plant container. Your choice of plants, your decorative style, your budget, and your creative imagination will all influence your plant container choices. However, there are several things to consider before you start adding plants to your outdoor pots.

Very small containers will dry out quickly, and they offer limited growing room, so that teacup is probably not a wise choice. Very slow growing plants, such as sedum or cactus, will grow well in a restricted environment. However, keep water needs in mind. Some succulents do need a fair amount of moisture.

Be certain that any container you choose has good drainage. With the exception of pond plants, decorative plants do not like to have their feet constantly wet. If you are concerned that your potting soil will be drained out along with excess water, cover the holes with a single layer of newspaper or a coffee filter before adding your planting soil.

Clay or Terra Cotta Planters

Available in just about any size and shape, clay plant containers are traditional garden standbys. Their look is especially attractive in warm and sunny southern or Mediterranean garden designs.

Un-glazed clay pots are porous, which means that water in the soil will evaporate through the sides of the container. They will have to be watered more frequently than less porous containers. Painted or glazed clay pots will retain more moisture through a hot day.

These pots are heavy for their size. If you are planting a large pot, moving it will be difficult. If you anticipate having to move a large terra cotta pot, place it on a decorative wheeled dolly before filling it with your planting mixture. This way you will be able to move it even when the soil within is moist and heavy.

If you line these containers with plastic before planting you can reduce water loss through the sides. The easiest thing to use is a plastic bag large enough to touch the sides of the pot all around. Remember to punch drainage holes in the bottom. When you add your planting mix, hide the sides of the bag by pushing them down into the mix before you plant.

Because all clay pots are porous, they do not do well outside during cold winters. Moisture in the pot will expand if it freezes, often cracking the pot. Cement and other stone containers will also often crack in freezing temperatures for the same reason. Consider whether you will be able to bring your pots into warmer shelter during the winter. If this will not be possible, and you want to keep your plantings, choose another kind of container.

Wooden Plant Containers

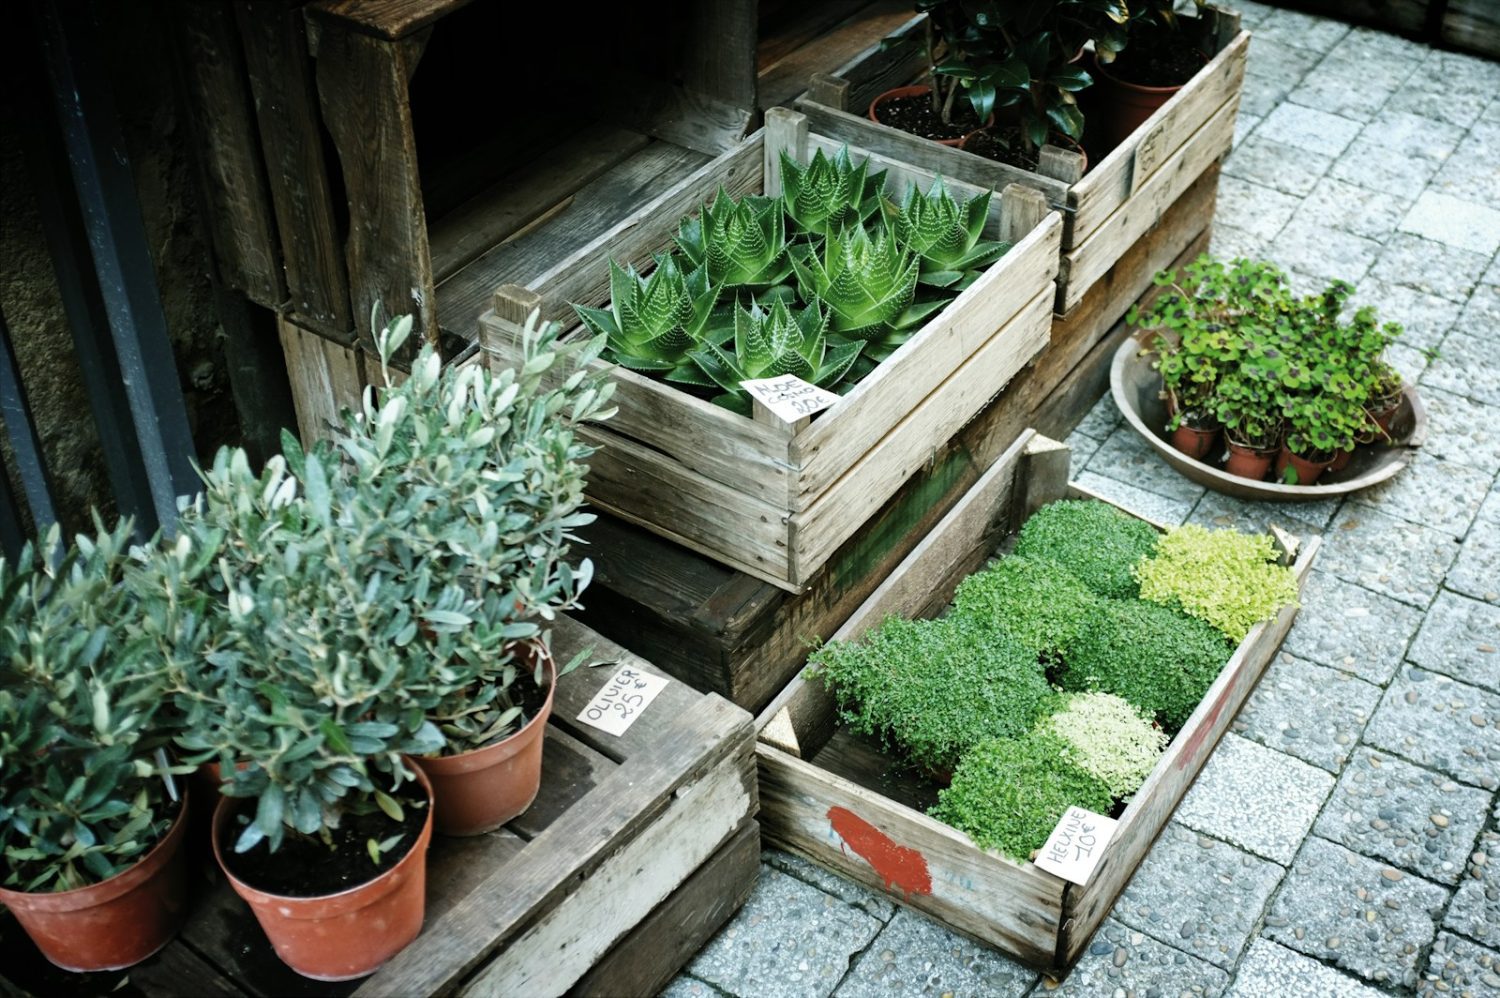
Whiskey barrels and other wooden patio containers are popular. Because wood will eventually deteriorate when exposed to water and sunlight, lining wooden plant containers with heavy plastic will extend their life and reduce water stains on the outside.

Cedar, redwood and teak are naturally resistant to water decay. Containers made of treated wood or lumber will usually last quite a bit longer than untreated wood. However, some chemicals used to treat wood are not suitable for edible plants, and may pose a health risk. Always check the materials used to treat any wooden planter for safety.

Metal Pots, Tubs and Wagons

So long as there is drainage at the bottom you can use any metal container to hold garden plants. Be aware that any large metal container will be heavy, so place it where you want it to remain unless it has wheels.

Plastic and Resin Containers

Plastic plant containers are the most lightweight and often the most inexpensive containers for the garden. Of course, this is why your plant nursery uses plain plastic pots.

You can find resin containers that mimic the look of cement or glazed pottery. These pots are handy if you don’t want to worry about freezing and cracking or excess weight. Most are quite handsome, as well.

Plastic and resin pots are not porous, so they will not lose moisture as quickly as un-glazed pottery. Because they don’t lose moisture, it is especially important to be sure that they have sufficient drainage at the bottom so that plant roots do not become waterlogged. Many resin containers have holes that must be opened by the end user. Be sure that you do this before you begin planting.

Thin plastic pots will have a short lifespan, as they will eventually crack in the sun. However, because they are inexpensive, they will be less costly to replace every few years.

Color Makes a Difference

Dark plant containers will absorb summer heat. If the roots of your plants get too hot they will be damaged or even killed. In hot climates choose lighter colored containers to reduce heat buildup.

Avoid Outdoor Pot Saucers

Many planting containers come with saucers to hold water outflow. Avoid saucers under your outdoor plants as these are great places for mosquitoes to lay their eggs. Your plants may wick up a little extra water between watering, although this is not always the case. However, your yard and patio will be overrun with mosquitoes.

Whatever container you choose as a planter, the three main things to remember are: 1) choose the correct size for your plants. A too-small container will not have growing room, and a too-large container will overwhelm and dwarf your plants; 2) make sure your container drains well; 3) monitor soil moisture regularly and maintain the kind of moisture that your plants require. Don’t plant a cactus and a rose in the same container – their water needs are vastly different.